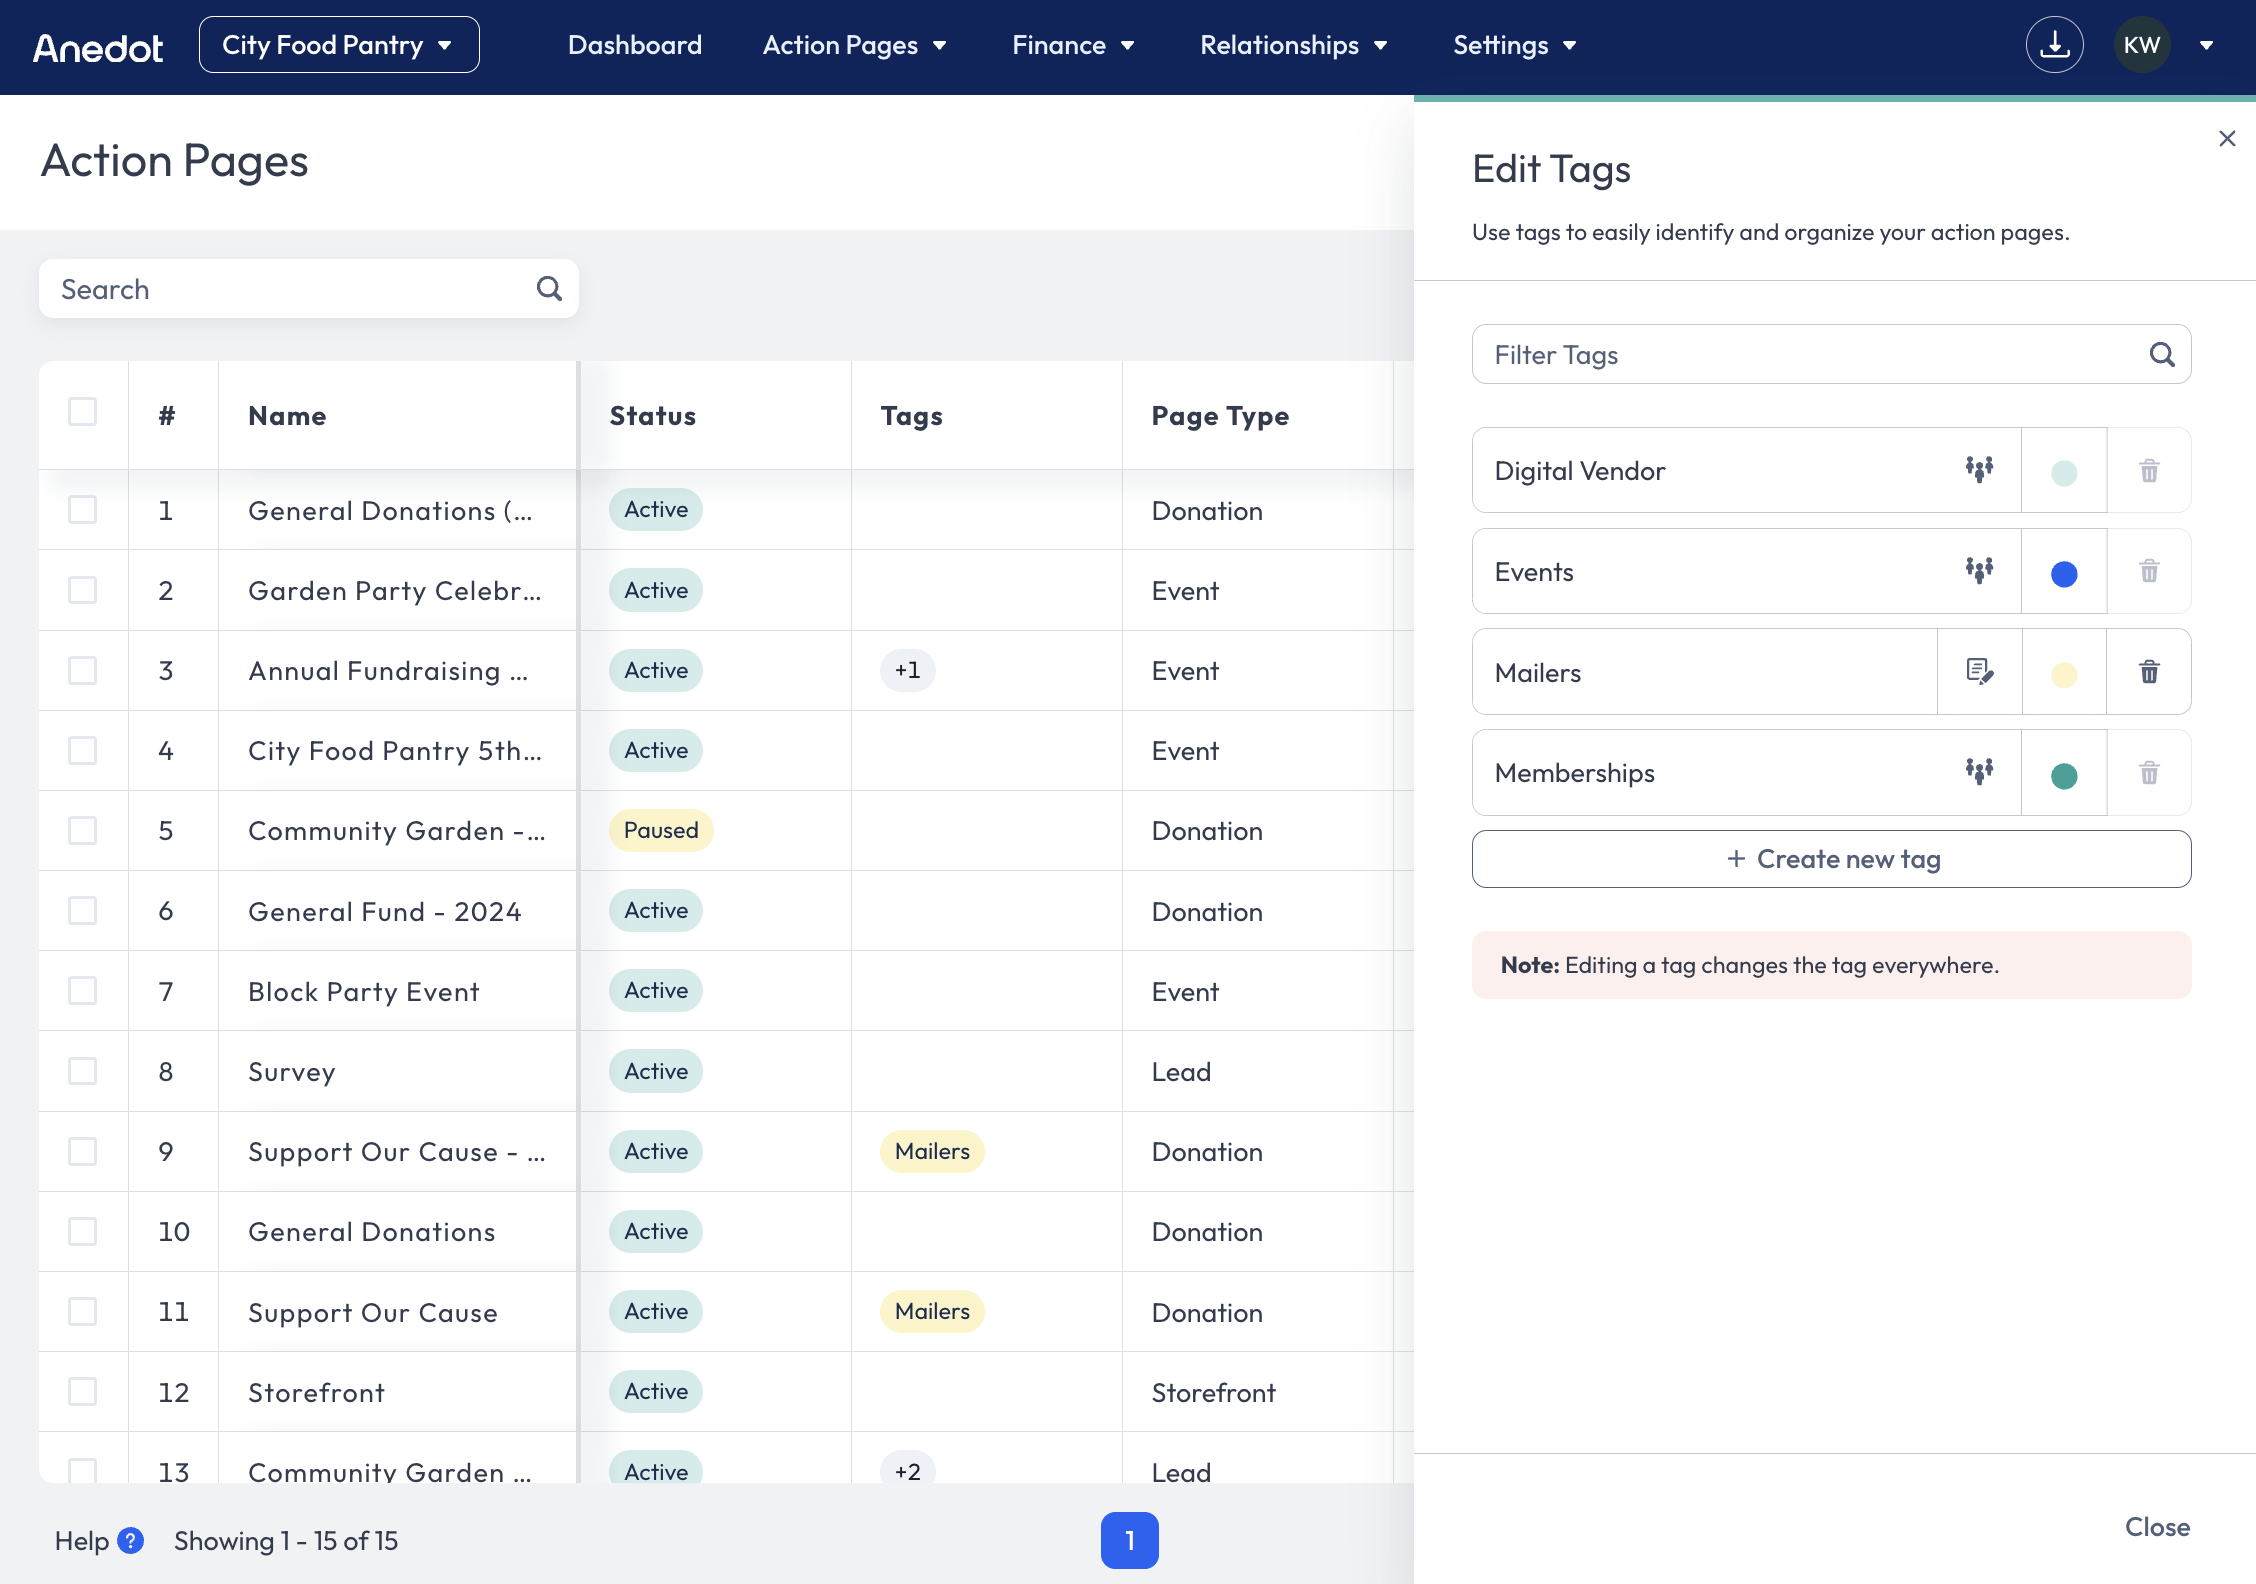
Manage Tags
Create and Assign Tags within the Action Pages Index to manage and organize Actions Pages and scope user access.
Create Tags
 To Create Tags, follow the steps below:
- Access the Action Pages>Pages tab within your fundraising account.
- Click the Tags icon in the upper right corner of the Action Pages Index.
- Click + Create new tag.
- Name the Tag.
- Optionally, click the Note icon to add a Tag Description.
- Optionally, click on the Color to assign a specific color to the Tag.
- Click your cursor out of the Tag field to Save the Tag.
Assign Tags
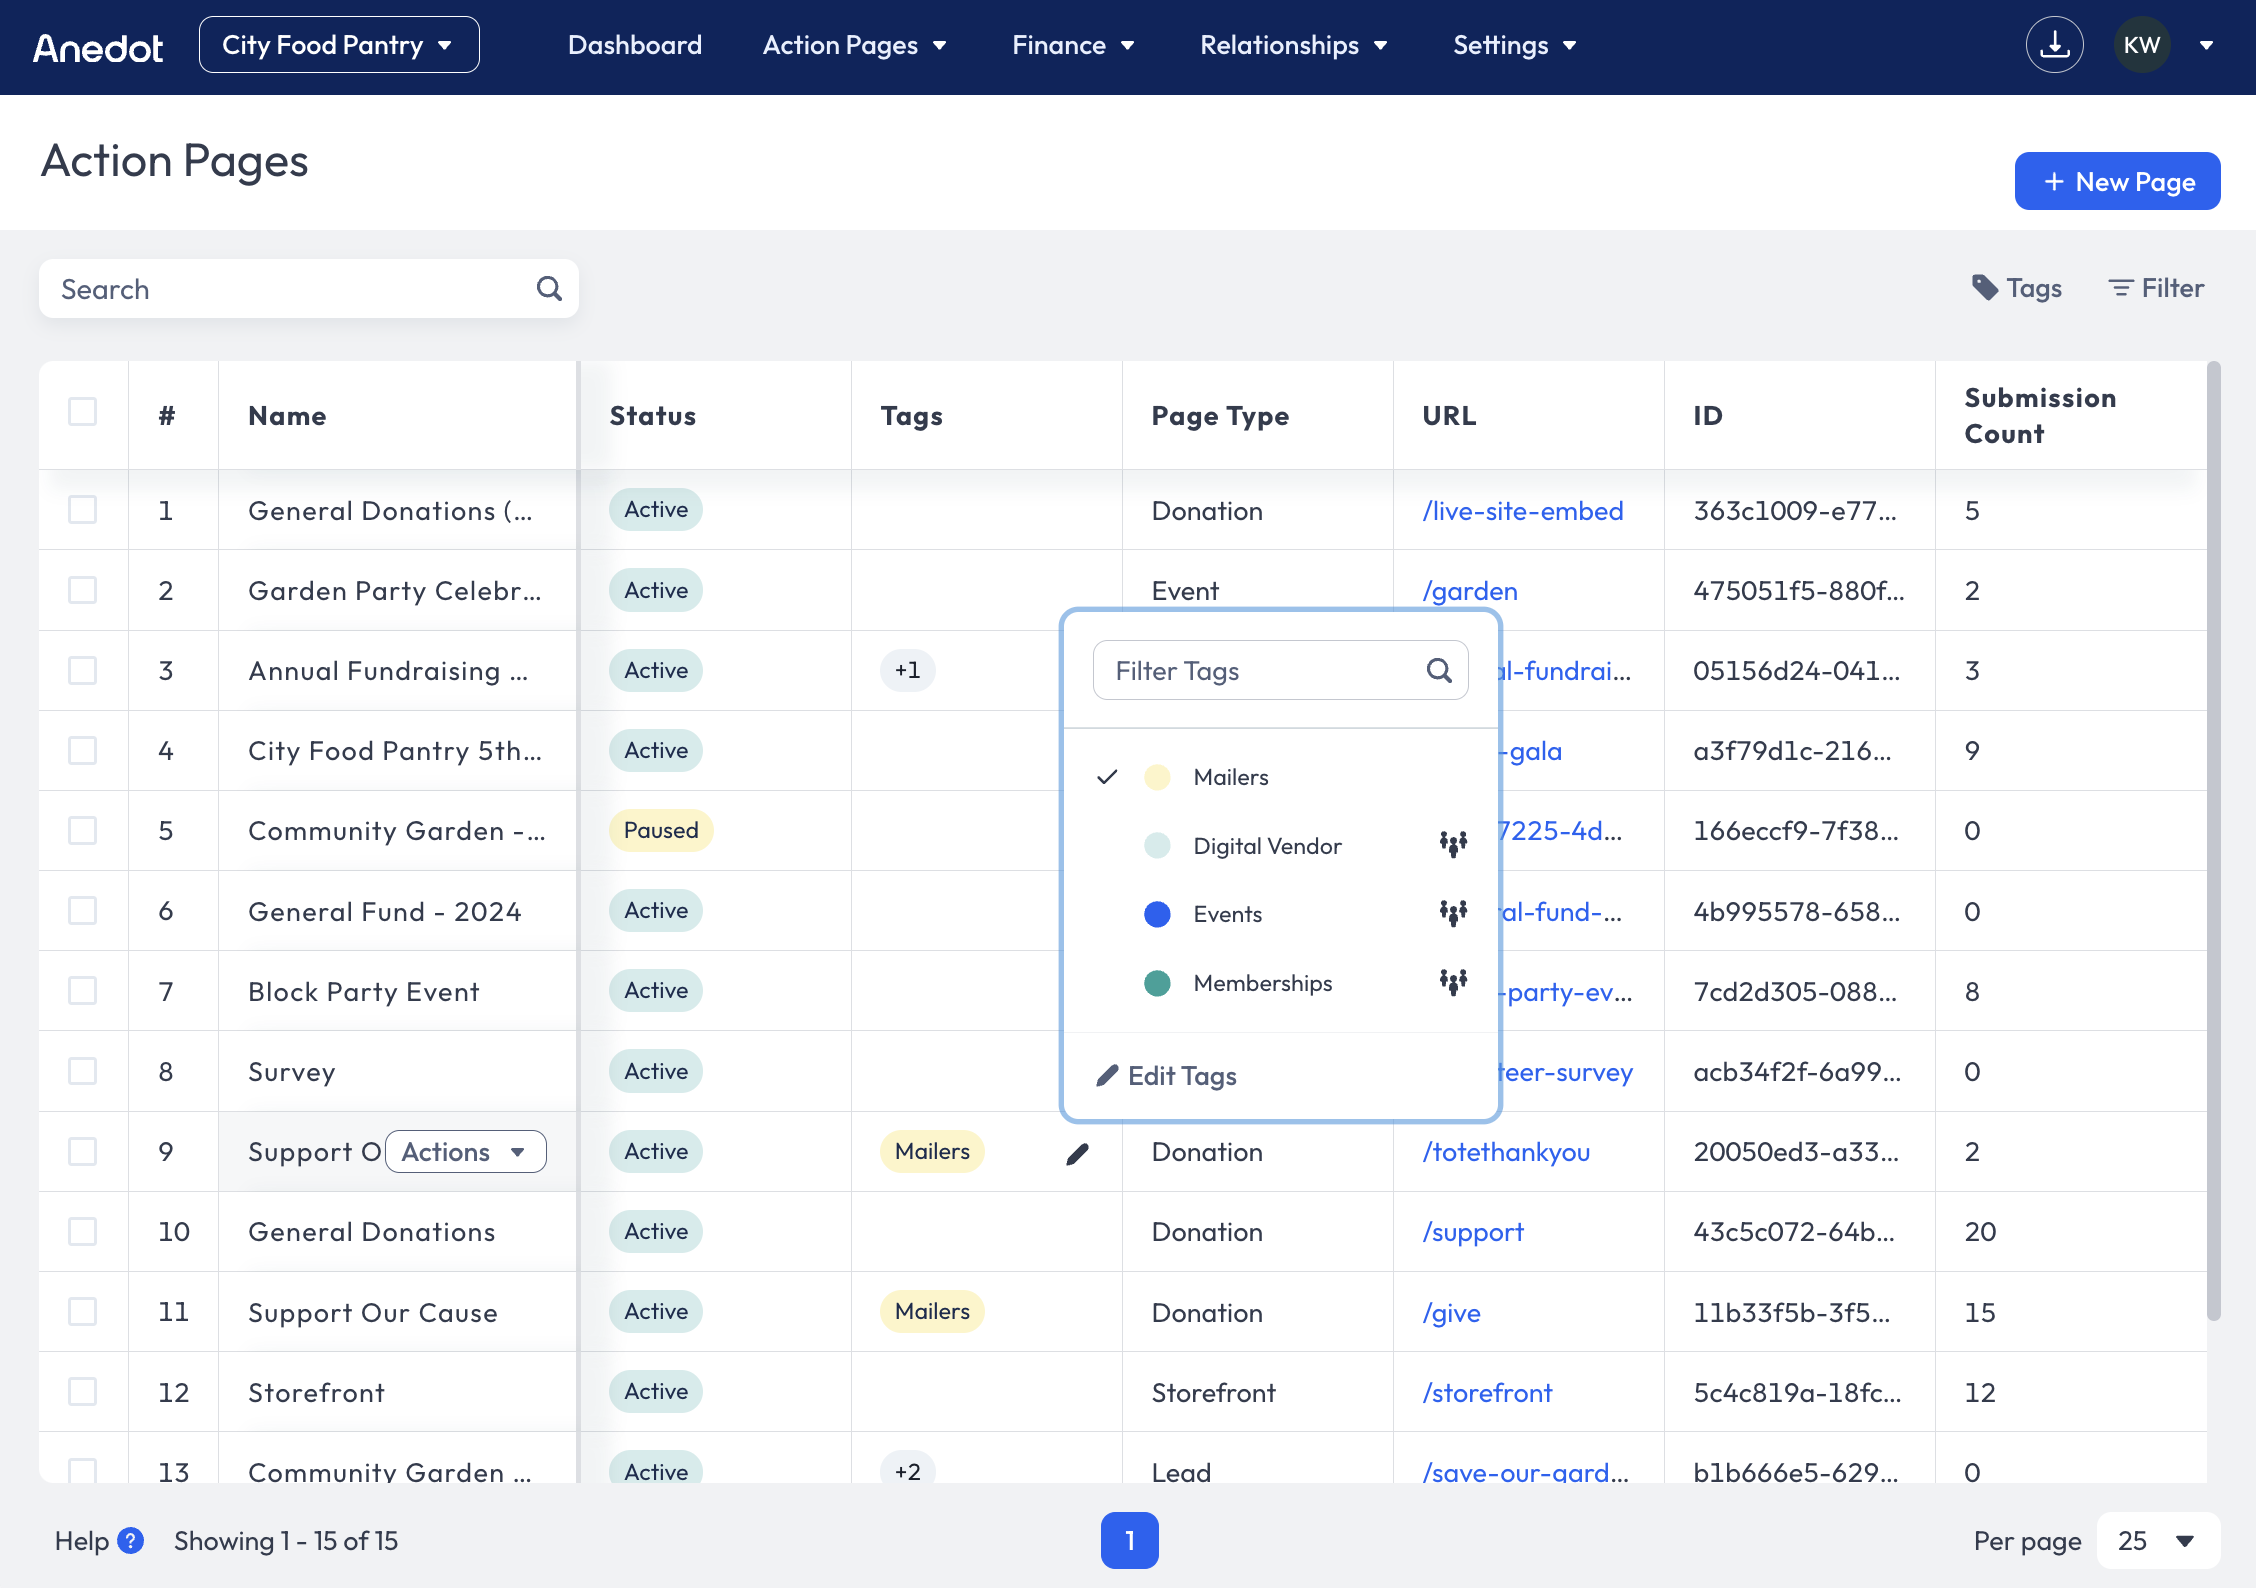 To Assign Tags to an Action Page, follow the steps below:
- Access the Action Pages>Pages tab within your fundraising account.
- Hover over the Tags column to the right of the Action Page.
- Click the Pencil icon.
- From the list of Tags, select the Tag(s) you would like to assign to the Action Page.
- Click your cursor off of the list of Tags to Save the assignment.
tip
Team Tags will show a People icon to the right of the Tag name. These Tags limit a user's access to the fundraising account data. The Team Tag should only be assigned to grant user access to the Action Page and associated data. If a Team Tag is not assigned to any Action Pages, users assigned to the Team will not have access to any account data.
Filter Action Pages by Tags
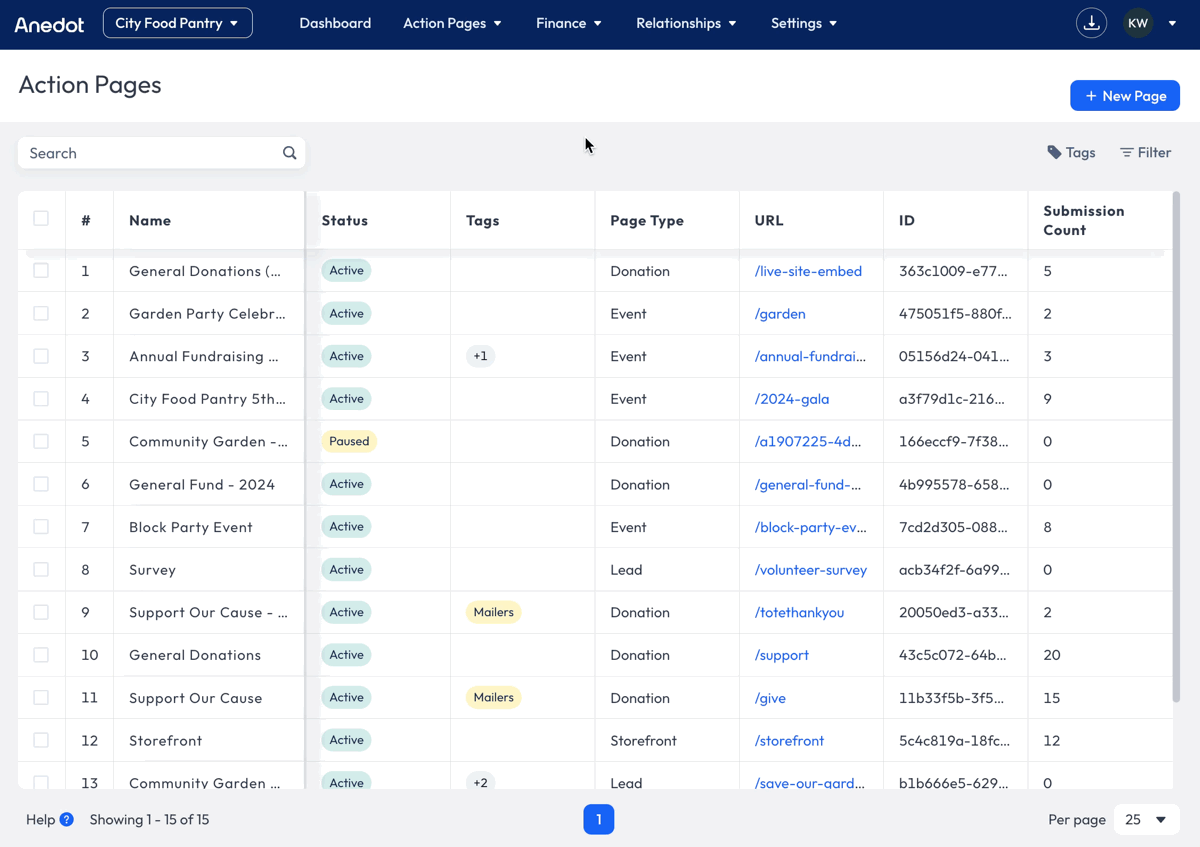
To Filter Action Pages by Tags, follow the steps below:
- Access the Action Pages>Pages tab within your fundraising account.
- Click the Filter menu button.
- Select the Tags you would like to filter by.
- Click Apply Filters.
- Click X in the upper right corner to close the Filter Drawer.